Baldur's Gate 3 Adamantine Forge: Mould locations, Grym boss & how to find

Learning how to find the Baldur's Gate 3 Adamantine Forge is vital if you want to make some powerful weapons to take you into act two, but you'll also need to know the Mould locations, and how to defeat the Grym boss who guards the forge.
Baldur's Gate 3 has tonnes of secret side quests that can be hard to complete. The Adamantine Forge quest is one of these in the game you may come across during the first act, but you don't need the quest in your journal to get the rewards from it.
So, check out how to find the Adamantine Forge in Baldur's Gate 3, along
- We also cover the Baldur's Gate 3 Thorm Mausoleum puzzle solution
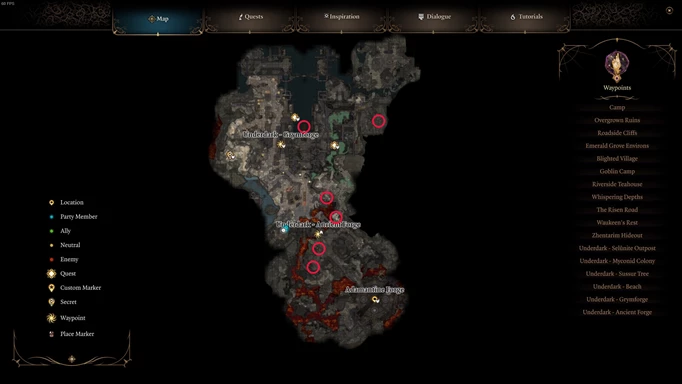
How to find the Adamantine Forge in Baldur's Gate 3
To find the Adamantine Forge in Baldur's Gate 3, you will need to head to the Grymforge area, located in the Underdark.
To get here, you'll need to do the following:
 Click to enlarge
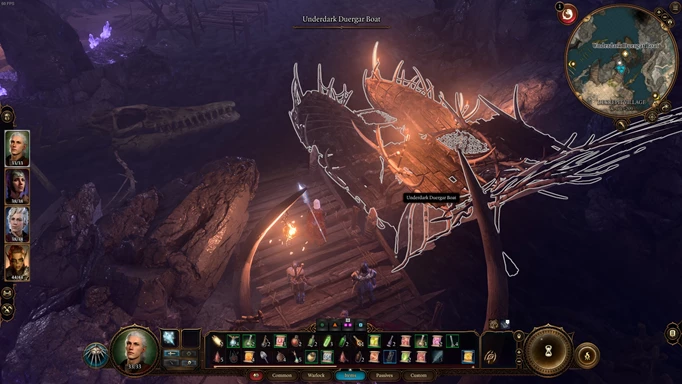
- Take the boat next to the Underdark - Beach Sigil Circle, which is on the lower western part of the map
- After travelling to Grymforge and landing at the dock, make your way up the stairs on the right and follow the path up toward the lava, where the cave in has occurred
- You should see some planks that make a bridge across the lava and then a massive gap with some cogs on the opposite side
 Click to enlarge
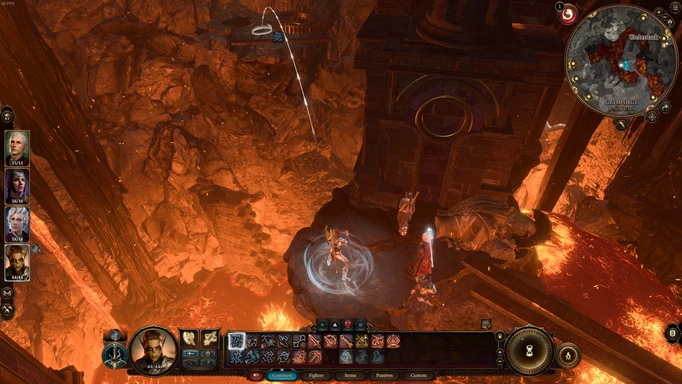
- You can use a spell like Misty Step or Jump to traverse this gap easily with one character, and then unlock the Underdark - Ancient Forge Sigil Circle to get the rest of the party across
- From here, just travel down the stairs opposite the Sigil Circle, and you'll find the Baldur's Gate 3 Adamantine Forge directly below.
- Check out our explanation of Karmic Dice in Baldur's Gate 3
Where to get Mithral Ore in Baldur's Gate 3
Before you can use the Adamantine Forge in Baldur's Gate 3, you'll need to get your hands on Mithral Ore; there are two of these items located in the Grymforge area, allowing you to craft two items total at the forge.
Mithral Ore 1
 Click to enlarge
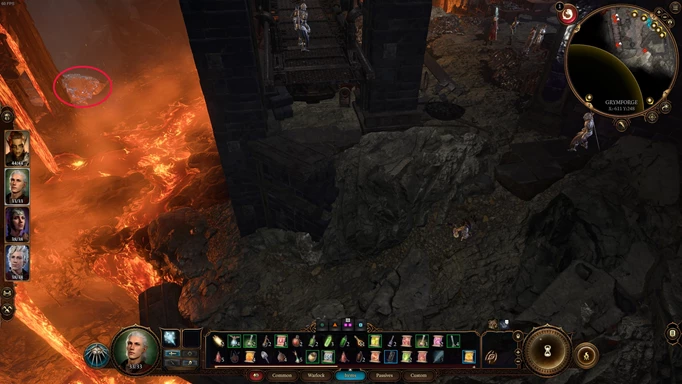
The first piece of Mithral Ore can be found before heading down the stairs to the forge. When facing the forge, head right and you'll find a path leading down to lava.
You'll need to fight some Animated Armour first, but once they are dealt with, follow the path down, cross the lava, and attack the Mithral Ore vein to get your first piece.
Mithral Ore 2
 Click to enlarge
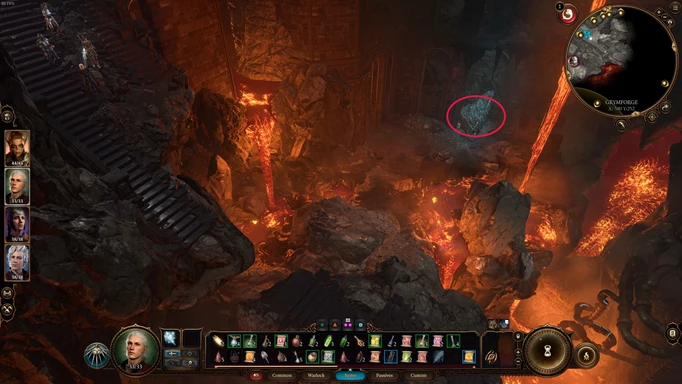
For the second piece of Mithral Ore in Baldur's Gate 3, head down the stairs to the forge and jump over the gap. Before heading down further, take a left down a rocky path and you'll see the Mithral Ore vein on a wall across the lava.
- Here is a Baldur's Gate 3 crafting breakdown
Baldur's Gate 3 Adamantine Forge Mould locations
 Click to enlarge
Now you know the location of the Adamantine Forge and have access to Mithral Ore, it's time to ensure you have the proper Baldur's Gate 3 moulds that allow you to craft the items you may want.
There are six moulds to collect in total, and we'll cover the location of each one below.
Longsword Mould
 Click to enlarge
This mould can be found on the central rafters directly above the grymforge area. Access it by destroying the blockage on the north of the area and jumping across the platforms.
Shield Mould
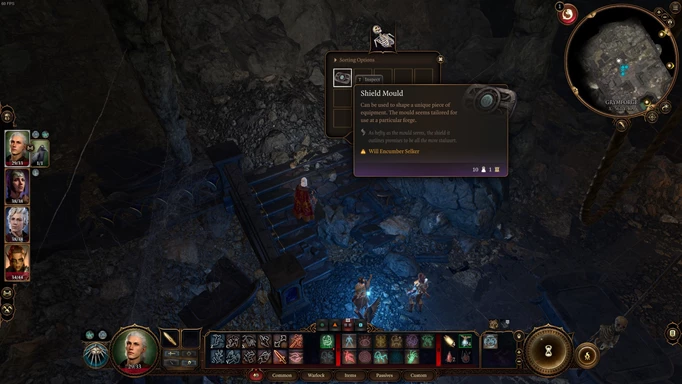 Click to enlarge
The Shield Mould is located on a skeleton located just under some rubble on the eastern side of Grymforge. To get there, you'll need to travel to the eastern walkway by moving the platform across from the western side (where you find the Longsword Mould), unlock the big double doors, and head all the way up the stairs.
Scimitar Mould
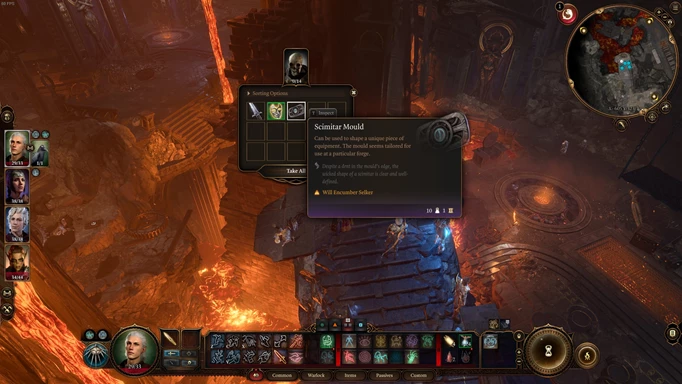 Click to enlarge
The Scimitar Mould is on a skeleton next to some levers overlooking the small camp near the lava. You can get there by jumping across the gap near the arch and climbing up.
Splint Mould
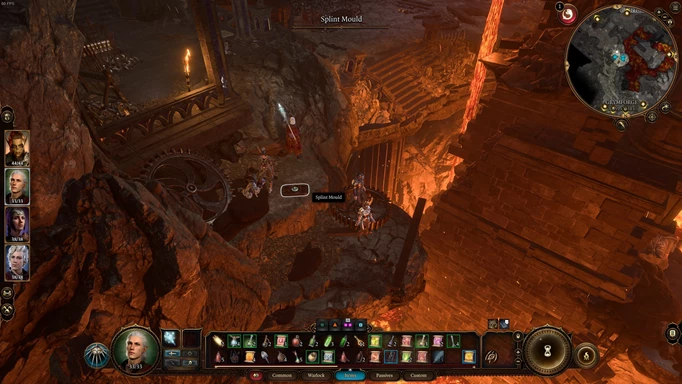 Click to enlarge
This mould is found where you can jump or Misty Step across to access the Underdark - Ancient Forge Sigil Circle.
Mace Mould
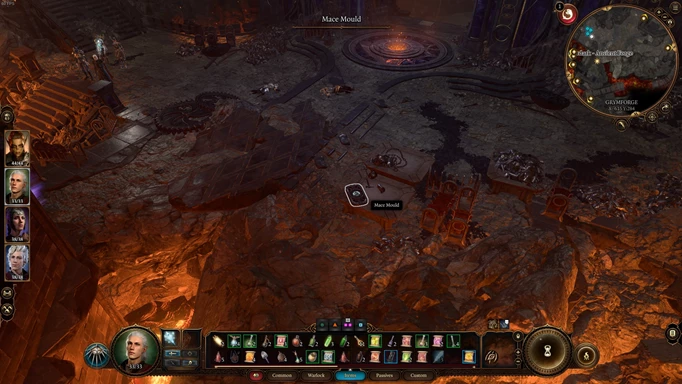 Click to enlarge
The Mace Mould is on a table right next to the Underdark - Ancient Forge Sigil Circle.
Scale Mail Mould
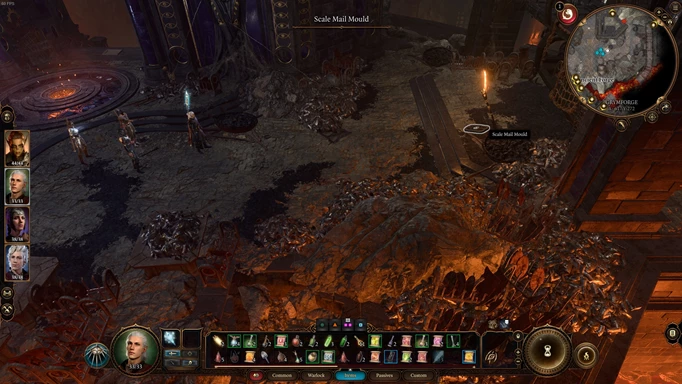 Click to enlarge
This mould is a little farther past the previous mould, up three steps just before the Animated Armour.
- Make sure you know how to speak to animals in Baldur's Gate 3
How to beat Grym in Baldur's Gate 3
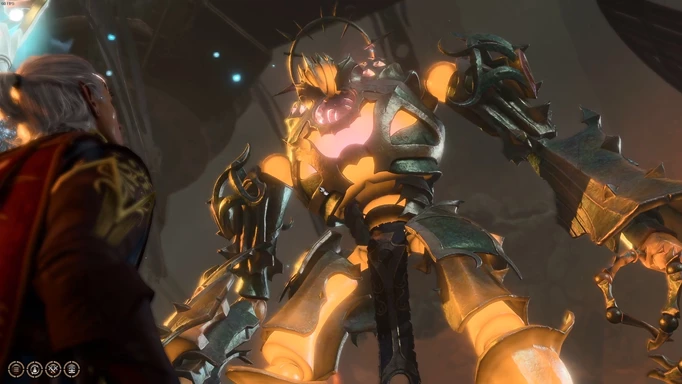 Click to enlarge
Now you have all the necessary items to use the Adamantine Forge in Baldur's Gate 3, there is one final hurdle - Grym.
Grym is the protector of the forge, and you'll be forced to fight him once you activate the wheel to fill the forge with lava.
This can be a tough fight if you aren't prepared, but there is a really simple process to kill them and get your rewards.
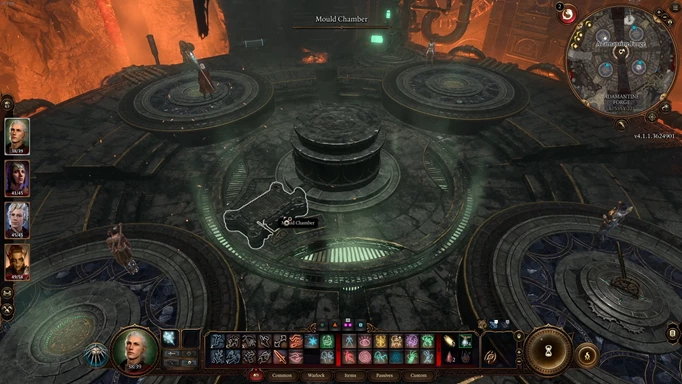 Click to enlarge
Before activating the wheel and starting the fight, ungroup your entire party and place each character on the four raised platforms. Preferably, you'll want ranged characters further from the wheel, with melee characters closer.
Once the fight begins, ensure the lava is on so Grym is Superheated and can be damaged, and you'll want to make your ranged characters attack Grym. This will cause them to be his Prime Target, forcing him to walk over and attack them.
 Click to enlarge
Once you get the Prime Target status, position yourself so Grym has to walk over the massive hammer in the middle, and if you do it correctly, he'll end up stopping just below it. You can now use another character to activate the lever and smash the hammer down on Grym.
Each hit from this takes half his HP, so you will need to do it twice to defeat Grym. After the first hit, the lava may also drain, so activate the wheel again to Superheat Grym and make sure he's vulnerable to damage.
Now you can defeat Grym and craft your items in the Forge for an achievement and some powerful new loot.
That's all for our breakdown of the Baldur's Gate 3 Adamantine Forge. Now you know everything there is about it, such as where it's located, how to get the Moulds, how to get the Mithral Ore, and how to defeat Grym for your rewards.
For more Baldur's Gate 3 guides, stick with GGRecon.